How to Care for Your Home EV Charger
Last reviewed: July 21, 2026
Simple Steps to Keep Your Home EV Charger Safe and Reliable
A home EV charger generally requires less routine maintenance than many household appliances. There are no fluids to change, filters to replace or moving parts to service. Most homeowner care consists of keeping the equipment clean, storing the cable properly and noticing changes before they develop into larger problems.
That does not mean the charger should be ignored. It regularly carries a substantial electrical load for several hours at a time. Damage to a cable, connector, receptacle or mounting point deserves prompt attention.
The safest approach is simple: perform routine visual checks, follow the equipment manufacturer’s instructions and leave electrical testing or internal repairs to a qualified professional.
Begin With the Manufacturer’s Instructions
Maintenance recommendations can vary among charger models. Before cleaning, moving or inspecting the equipment, review the manual supplied with the charger.
The manufacturer may provide guidance about:
- Cleaning materials
- Outdoor exposure
- Cable storage
- Connector care
- Indicator lights
- Software updates
- Reset procedures
- Operating temperatures
- Warranty coverage
- Conditions that require professional service
Keep a copy of the manual, installation records and warranty information where they can be found easily. If the charger is connected to an application or online account, save the equipment model and serial number there as well.
Manufacturer instructions should take priority over general maintenance advice.
Look at the Cable and Connector Regularly
The flexible charging cable and vehicle connector receive more physical handling than the wall-mounted charger. They may be pulled, twisted, dropped or exposed to vehicles, tools and garage storage.
Periodically examine the full visible length of the cable. Look for:
- Cuts or cracks in the outer jacket
- Flattened or crushed areas
- Sharp bends or kinks
- Sections that feel unusually stiff
- Damage near either end of the cable
- Exposed internal material
- Signs that the cable has been driven over
Pay particular attention to the strain-relief areas where the cable enters the charger and connector. These points absorb movement whenever the cable is handled.
Inspect the connector for cracks, looseness, contamination or discoloration. The contact area should appear clean and undamaged. Do not insert tools, brushes or other objects into the connector.
If the cable or connector appears damaged, stop using the charger and contact the manufacturer or a qualified electrician. Electrical tape should not be treated as a permanent repair for a damaged EV charging cable.
Store the Cable Properly
Good cable storage reduces wear and helps prevent trips, falls and vehicle damage.
When the charger is not in use:
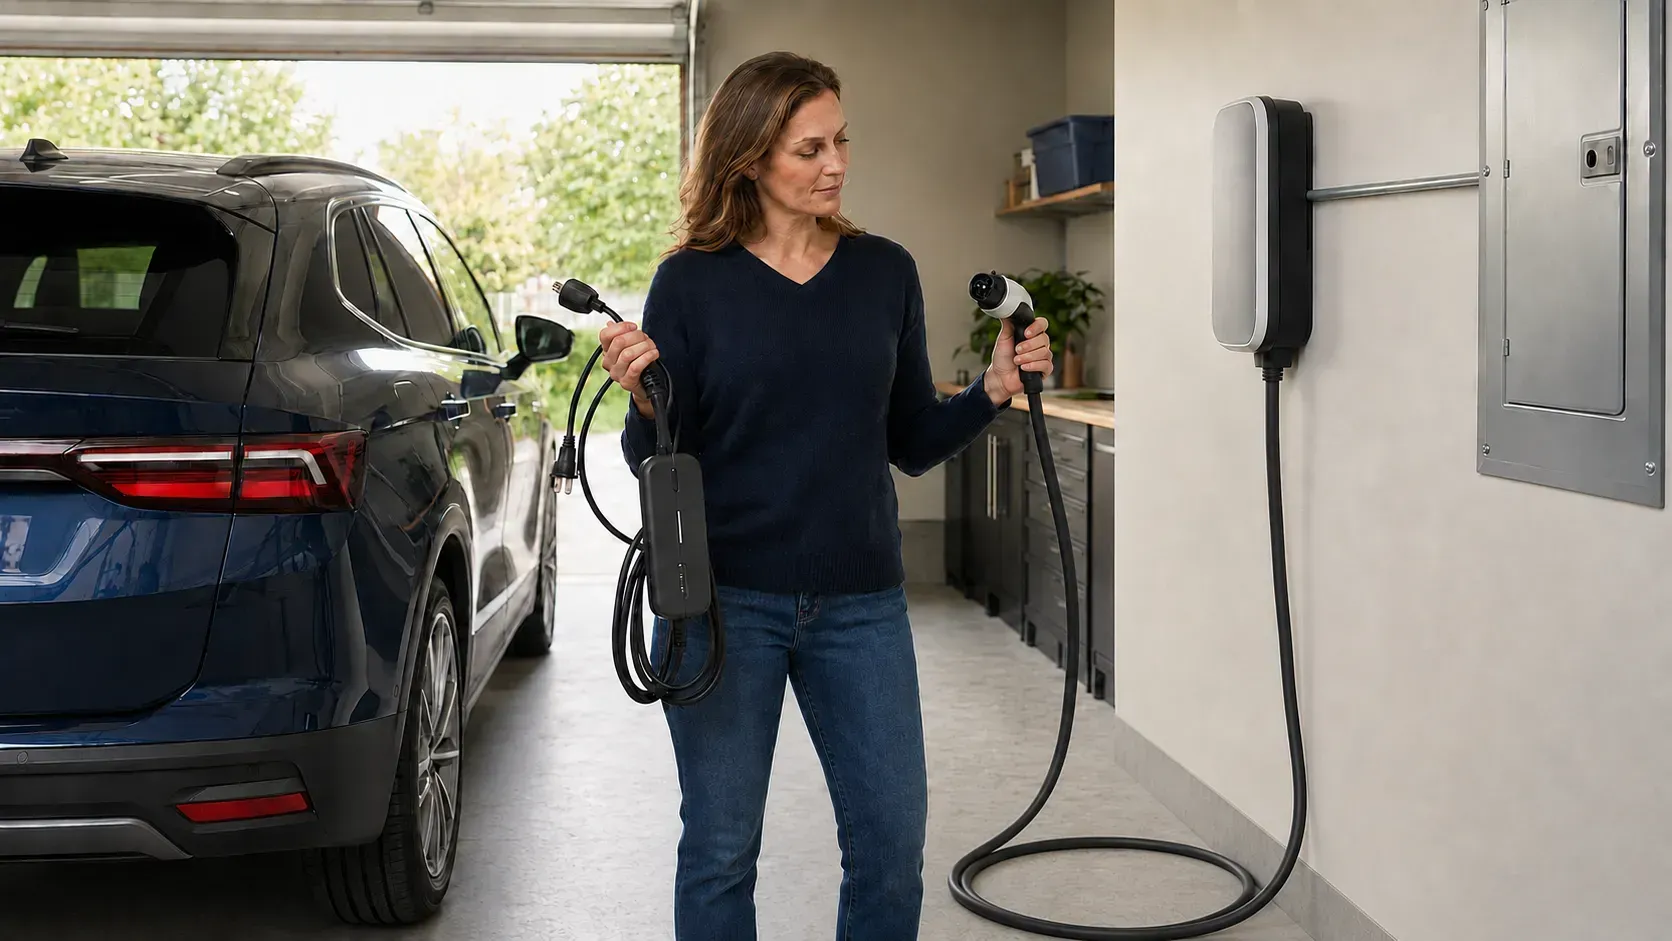
- Return the connector to its holster
- Place the cable in loose loops on its hanger
- Keep the cable off regular walking paths
- Avoid tight bends
- Do not wrap the cable tightly around the charger
- Keep it away from sharp tools and storage shelves
- Do not leave it beneath or directly in front of a tire
The loops should be large enough that the cable hangs naturally. Repeatedly bending it at the same sharp angle can place unnecessary stress on the cable jacket and internal conductors.
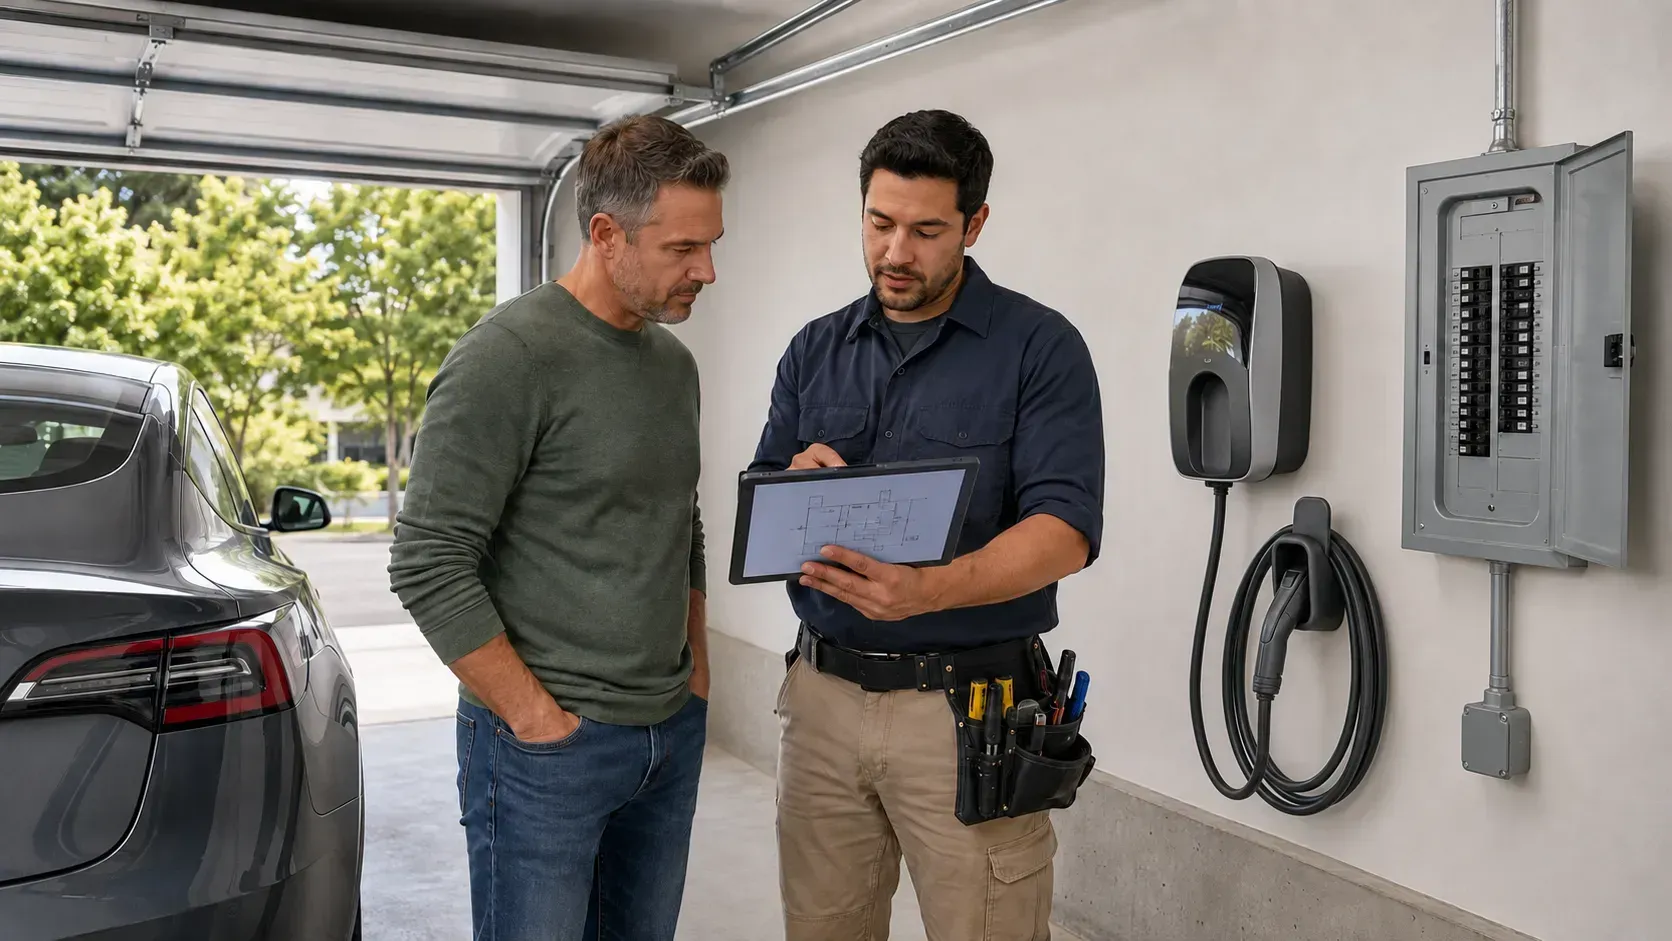
A properly located cable hanger should allow the loops to lift forward and off easily. The charger should be installed where the cable can reach the vehicle without being stretched.
Keep the Charger Clean
Garage dust, pollen, insects and other debris can collect on charging equipment over time. Outdoor chargers may also be exposed to dirt, leaves and weather-related residue.
Before cleaning, make sure the connector is unplugged from the vehicle. Follow the manufacturer’s instructions for shutting down or cleaning the equipment.
For many chargers, routine cleaning involves gently wiping the exterior with a soft, dry or slightly damp cloth. Avoid spraying water directly onto the charger or connector. Do not use harsh solvents, abrasive cleaners or pressure washers unless the manufacturer specifically approves them.
Keep the connector dry and free of debris. If contamination is visible inside the connector, do not attempt to scrape or probe it. Contact the equipment manufacturer for appropriate instructions.
Cleaning is also a useful opportunity to examine the housing, cable and mounting points.
Check the Housing and Mounting
The charger should remain securely attached to the wall, pedestal or other approved mounting surface.
Look for:
- Movement when the cable is handled
- Loose mounting hardware
- Cracks in the charger housing
- Gaps or damaged seals
- Rust or corrosion
- Impact damage
- Water staining
- Insect activity
- Changes around conduit or wiring entries
Do not remove the charger’s cover to investigate an internal problem. The absence of visible power at the connector does not mean every component inside the equipment is safe to touch.
If the charger has shifted, become loose or suffered an impact, discontinue use until it can be evaluated.
Protect Outdoor Charging Equipment
Outdoor EV charging can be safe when the charger and installation are designed for the location. Outdoor equipment still benefits from regular inspection because it experiences more environmental exposure.
Check for:
- Standing water near the equipment
- Damage from landscaping tools
- Mud or debris around the pedestal
- Deteriorated seals
- Sun or weather damage
- Cable exposure to driveways or walkways
- Vegetation interfering with ventilation or access
Keep sprinklers from spraying directly at the charger when practical. Make sure landscaping changes have not blocked the charger, cable hanger or electrical equipment.
After severe weather, inspect the visible equipment before reconnecting the vehicle. If the charger appears wet inside, damaged or displaced, do not use it.
Learn more about planning and protecting an outdoor EV charger installation.
Pay Attention to Changes During Charging
A charger that has operated reliably for months should behave consistently. New sounds, smells, heat or interruptions should not be dismissed.
Stop charging and seek professional guidance if you notice:
- A burning or unusual electrical odor
- Smoke or visible sparking
- Melted or discolored plastic
- A connector that becomes unusually hot
- Repeated breaker trips
- Buzzing, crackling or popping sounds
- Charging that repeatedly starts and stops
- A connector that no longer fits securely
- Persistent error lights or messages
- Water inside the equipment
- Physical damage to the charger or cable
Some warmth can occur during charging, especially during extended operation, but excessive or increasing heat deserves attention. Do not repeatedly reset a tripping breaker without determining why it is tripping.
If there is smoke, fire or an immediate electrical hazard, move away from the equipment and contact emergency services.
Watch Plug-In Connections Carefully
Some Level 2 chargers connect to a 240-volt receptacle rather than being hardwired. The receptacle and plug are part of the charging system and should remain secure and undamaged.
Warning signs may include:
- Discoloration around the receptacle or plug
- A loose connection
- Cracked plastic
- Unusual heat
- A burning odor
- Intermittent charging
- Movement of the receptacle in the wall
Do not continue using a connection that appears loose or overheated.
Avoid frequently plugging and unplugging equipment unless the receptacle and charger are intended for that use. Repeated movement can wear the connection over time. Never use an extension cord or unapproved adapter as a permanent charging solution.
A qualified electrician should evaluate concerns involving the receptacle, circuit or breaker.
Review Smart-Charger Alerts and Updates
Connected chargers may report faults, interrupted sessions, unusual energy use or lost connectivity. Periodically review the charger’s application rather than assuming every notification is a Wi-Fi problem.
Keep account information current and install manufacturer-supported software or firmware updates when appropriate. Updates may improve compatibility, correct errors or address security issues.
If the charger repeatedly loses its network connection but continues charging normally, the issue may be Wi-Fi coverage rather than electrical performance. A detached garage or outdoor location may need improved wireless coverage.
Our guide to smart EV chargers, Wi-Fi and energy management explains these considerations in more detail.
Know Whether the Problem Is the Vehicle or Charger
A failed charging session does not always mean the wall charger has malfunctioned. The vehicle, connector, charging schedule, circuit or utility service could be involved.
Begin with safe, non-invasive checks:
- Confirm that the connector is fully seated.
- Review messages from the vehicle and charger.
- Check whether scheduled charging is delaying the session.
- Look for a tripped breaker without repeatedly resetting it.
- Confirm that the charger has power.
- Follow the manufacturer’s documented restart procedure.
If available, note whether the vehicle charges normally at another compatible station. This information may help a technician identify whether the concern follows the vehicle or remains with the home equipment.
Do not open the charger, remove electrical covers or perform live voltage testing unless you are qualified and authorized to do so.
When Should a Professional Inspect the Charger?
Homeowners can perform visual checks and routine exterior cleaning. Electrical diagnosis and repair should be left to a qualified professional.
Arrange an inspection when:
- The breaker trips repeatedly
- The charger or receptacle becomes unusually hot
- Charging performance changes without explanation
- The equipment has suffered an impact
- The charger becomes loose
- Water intrusion is suspected
- The cable or connector is damaged
- Burning odors or discoloration appear
- The installation has been altered
- The manufacturer recommends professional service
An electrician may evaluate the circuit, terminations, breaker, receptacle, grounding, mounting and visible equipment condition. The charger manufacturer may also provide diagnostic information or determine whether equipment replacement is required.
Keep a Simple Maintenance Record
A detailed maintenance program is unnecessary for most residential chargers, but a brief record can be useful.
Record:
- Installation date
- Charger model and serial number
- Installer contact information
- Permit and inspection records
- Warranty period
- Significant error messages
- Professional inspections or repairs
- Equipment or software changes
This information can simplify warranty claims and help a technician understand the charger’s history.
A Few Minutes of Attention Can Prevent Larger Problems
Home EV charger care does not need to be complicated. Keep the equipment clean, store the cable properly, inspect the connector and cable for damage, and pay attention to changes in operation.
Most importantly, know where homeowner care ends. A closed charger housing, electrical panel and energized circuit should not become a do-it-yourself repair project.
When equipment is installed correctly and treated carefully, it should provide dependable charging with relatively little routine attention. If something changes, stopping to investigate is safer than continuing to charge and hoping the problem disappears.
Contact us if your home charger shows signs of damage, repeated errors, unusual heat or unreliable operation. We can help identify the appropriate next step for evaluating your Santa Rosa EV charging system.
Contact Us
Contact Us - Blog - Charger Home Care